 If you have a spare 30 hours and $300 this weekend, you may want to try a do-it-yourself project that’s a bit more satisfying to your inner geek than, say, installing new linoleum flooring.
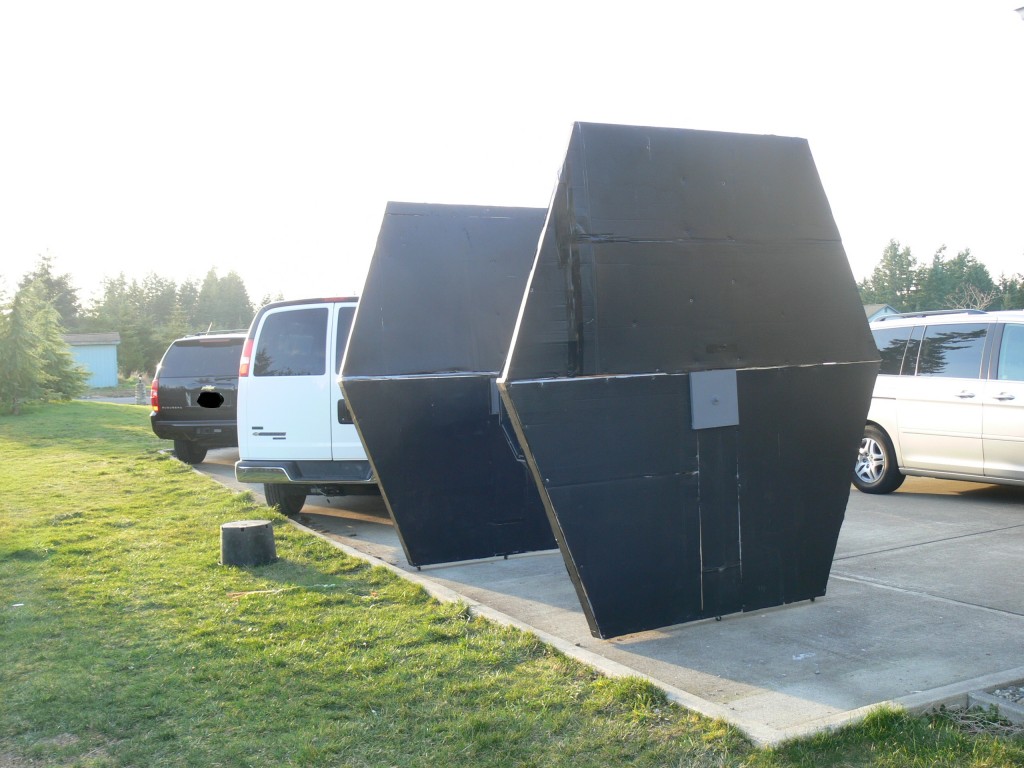
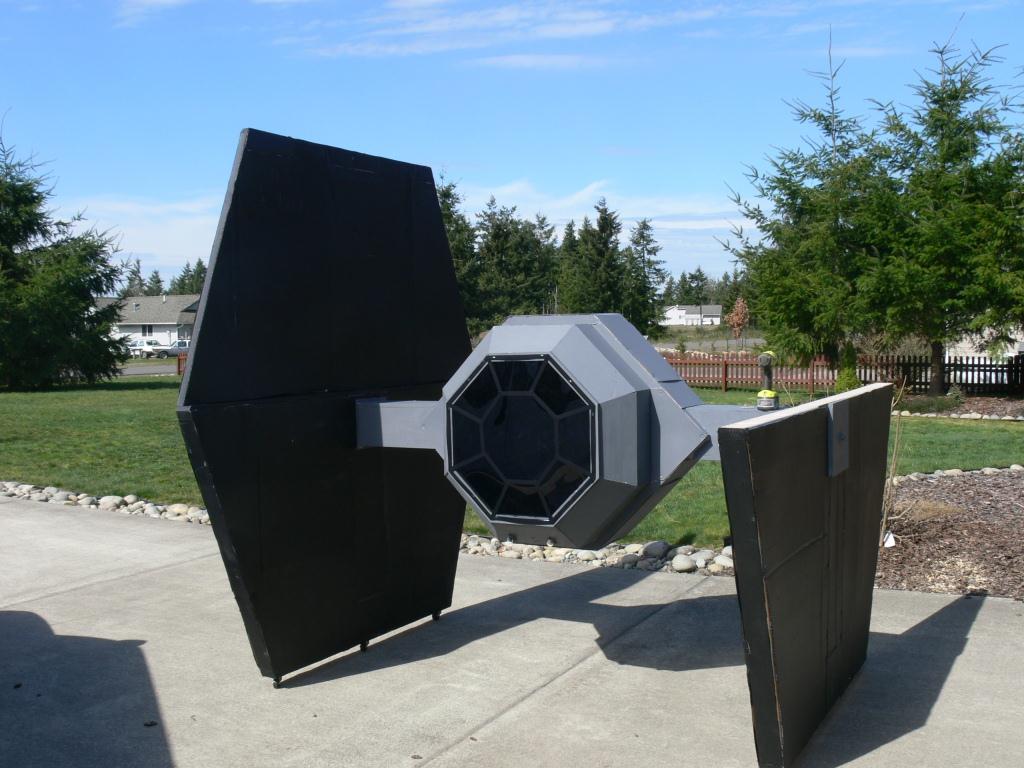
Dave Putnam, who put his eight-foot by eight-foot, roughly one-third scale replica of the iconic TIE fighter from Star Wars up for sale on Craigslist in Olympia, Wash. earlier this month, generated incredible buzz with what he had in his ad.
It turns out he built it himself — and is willing to share details of how he did it with geeks everywhere.
Putnam, who says he’s received “hundreds of calls, texts and e-mails” about his creation, says it was a father/child project that he began because he needed a companion for the X-Wing he’d constructed two years earlier.
Key here is that there are no formal plans. None. Just, he says, “a sketch and an idea and (I) went from there.” He admits it was trial and error. But if you’re feeling especially daring, his full materials list and instructions (which, he notes, adjust for the trial and error) are reproduced below. Plus lots of his photos just above the text with appropriate titles that map to the instructions.
Up next, he says, is perhaps “an AC130 Gunship, or maybe the Death Star.”
Required appears to be the usual full complement of home hobbyist tools and, one would assume, an understanding spouse. The result? Simply amazing.


Here’s Putnam’s complete instruction sheet:
Supplies:
2 sheets ¾ inch 4×8 plywood (I used birch sanded on both sides, more money, but less finish work)
10 2x4x8’s
5 2x2x8’s
2 1x4x8’s
12 1x2x8’s
6 2inch swivel casters
8 Simpson reinforcing skewable angle brackets LS70
4 Simpson reinforcing angle brackets GA2
2: ½ inch x 6 to 12in bolts with 3 washers and 3 nuts each (I had 12 inch lying around)
Hinge (a Piano hinge would work best, I used a self-closing fire-door hinge)
3 tubes polyurethane construction adhesive (I used Loctite® PL Premium® Polyurethane Construction Adhesive)
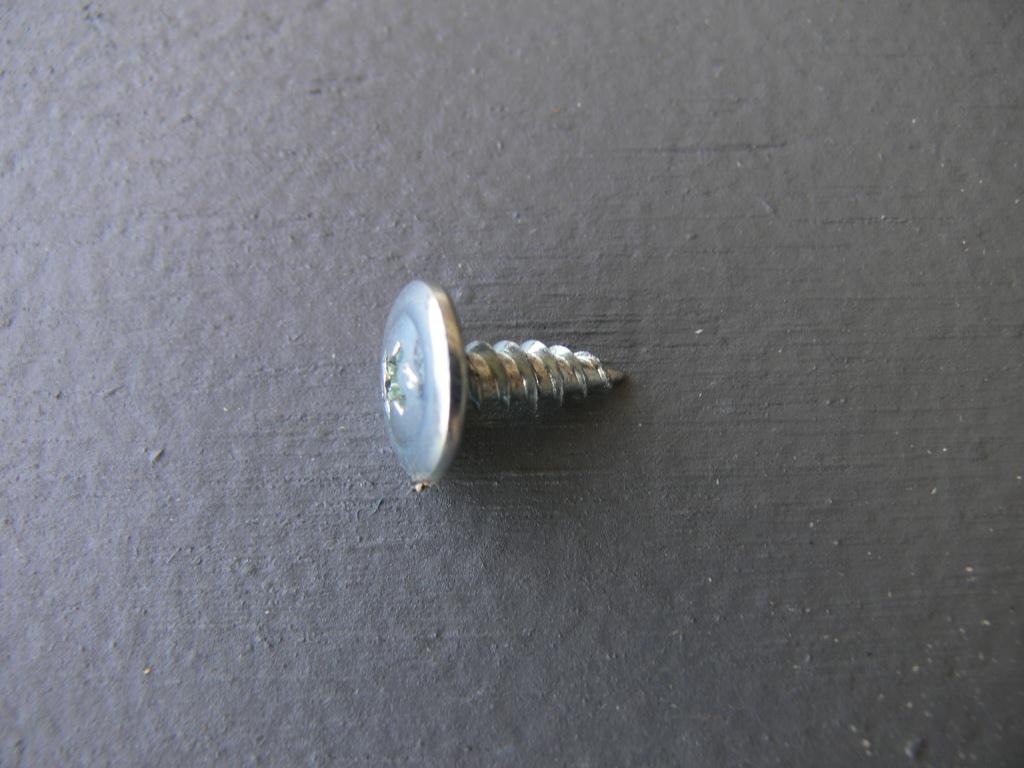
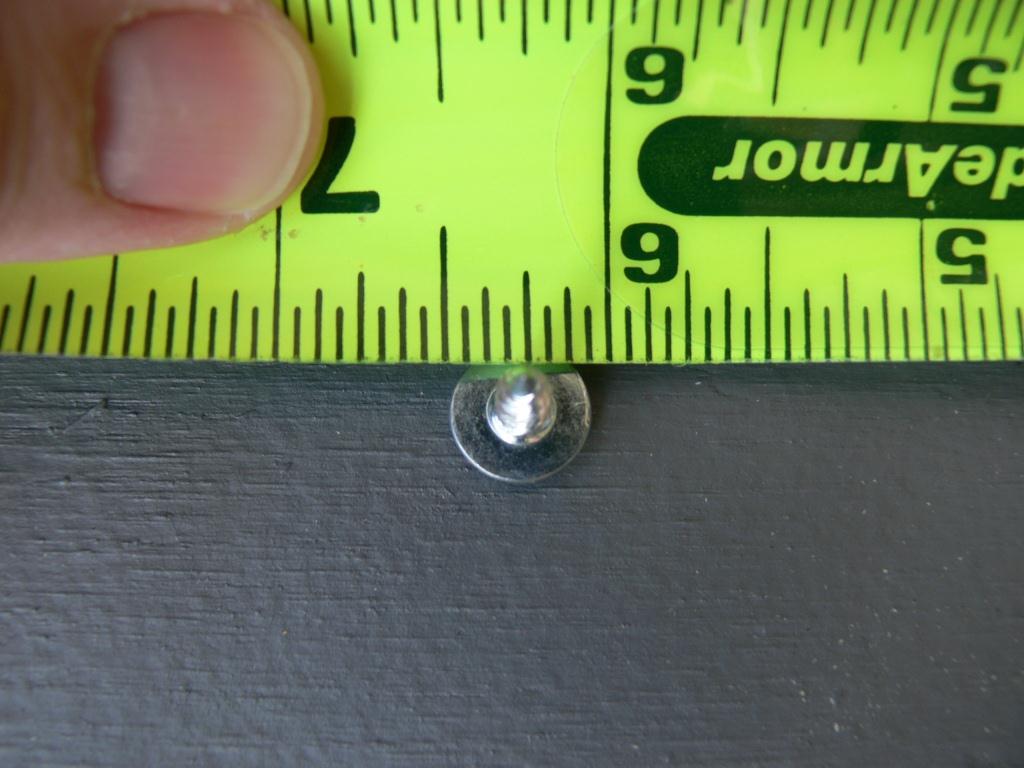
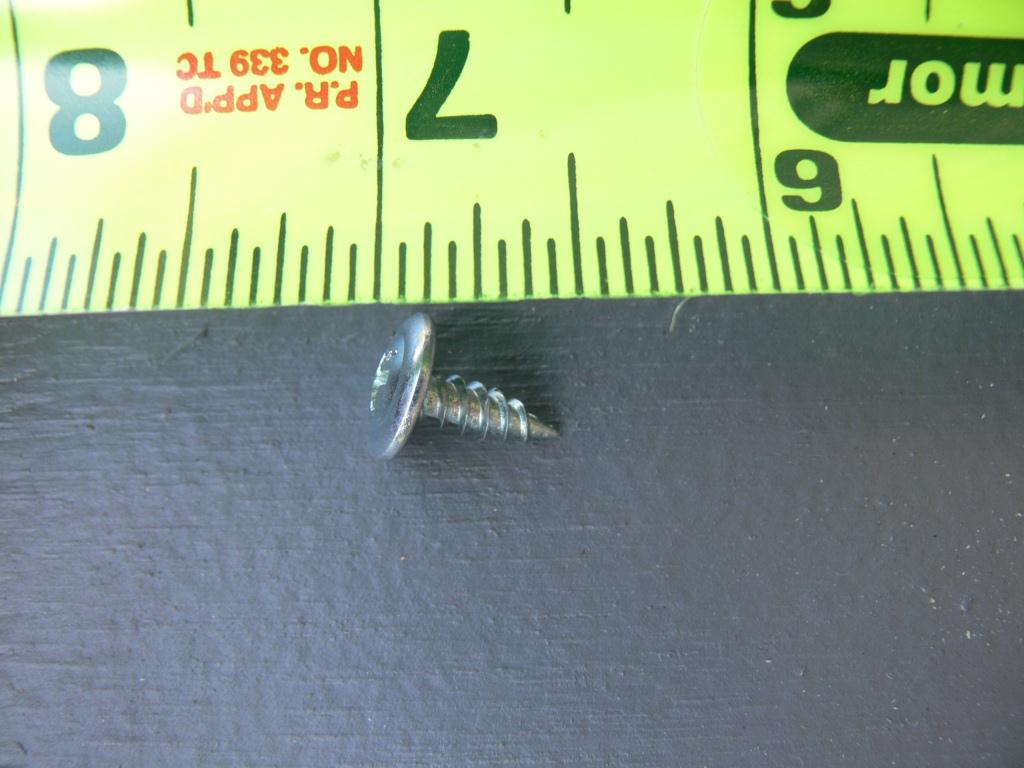
Screws; wood screws (I used 3 inch deck screws) and screws to secure the cardboard (photo)
Wood glue (I used about 32oz of waterproof Elmer’s glue)
1 gallon black paint
1 gallon tinted primer
1 gallon gray paint
A lot of cardboard; I used 3 refrigerator boxes, 2 washing machine boxes, a large TV box and several smaller boxes. Use as large a sheet of cardboard as you can, if you use smaller boxes, plan on using more 1x2s for something to glue and screw the cardboard into. Once there is any moisture or temp change, seamed cardboard will tend to separate. If I were to do it over again I would have used ¼ inch plywood. If you plan on displaying it I would definitely use plywood to sheet the wings and build the top wings to the same specs as the lower wings.
To build the 3 dimensional octagon for the cockpit I started with the center 8 pieces. The following refers to 3/4 inch plywood; with the outside dimensions of each piece, 23 ¾ x15 ¾ with all 4 edges cut at a 22.5 degree angle (inward bevel). I glued them together (23 ¾ inch edge to 23 ¾ inch edge) with polyurethane construction adhesive and tacked them in place with a 16 gauge finish air nailer, standard 1 ½ inch T-head nails. The interior of the joints was re-enforced with Simpson reinforcing skewable plates LS70 (photo). Glue and nail all 8 pieces together before the glue dries, don’t do it piece by piece as you need to make sure it is square and at the very least, the 2 pieces you attach the spars to are parallel with each other. Square the octagon up and screw temporary supports onto one side to hold it square. I attached the Simpson plates after the temporary supports were in place but before the glue was dry. I let mine dry overnight. By cutting the pieces less than 24 and less than 16 inches, with the waste from the cut you are able to get more pieces out of the sheet of plywood.
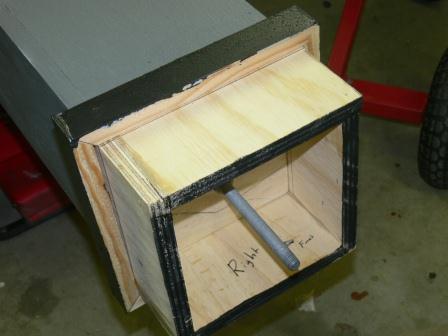
I then cut 16 pieces that tapered from 15 ¾ inches to 12 inches and were 6 1/2 inches wide (there was a little trial and error here). The 15 ¾ inch length and the 6 1/2 inch sides were cut at 22.5 degrees, inward taper, and the 12 inch side was cut at 45 degrees, outward taper, so that 45 degree cut edge was perpendicular to the center body pieces once in place. (Use a framers’ square to check) Getting the edge perpendicular is the most important part so I cut my lines to give me room to move the piece if I needed to and filled any gaps with the polyurethane glue. (The glue I used was rated to fill up to ¼ inch) These 45 degree edges were finished with 1×2. (photo) I secured these pieces with poly glue and my 16 and 18 gauge air nailers. Attach one side at a time, once they are in place and dry you can remove the temporary structure from the opposite side and the octagon will be stable. I let the one side dry overnight before turning it over and completing the other side. The front has Plexiglas and the back has a door cut out of ¾ plywood to match the opening. The Plexiglas has black electrical tape on it to make the final design.
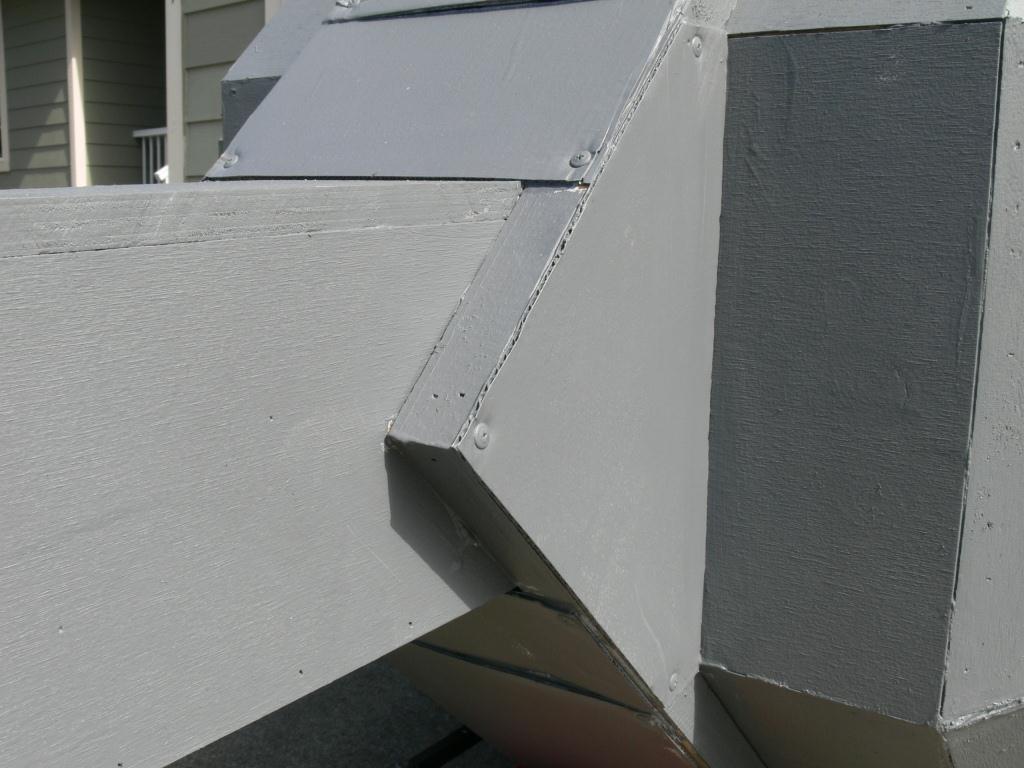
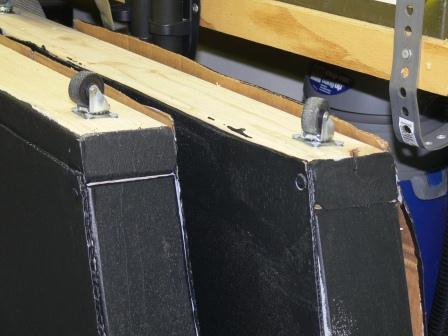
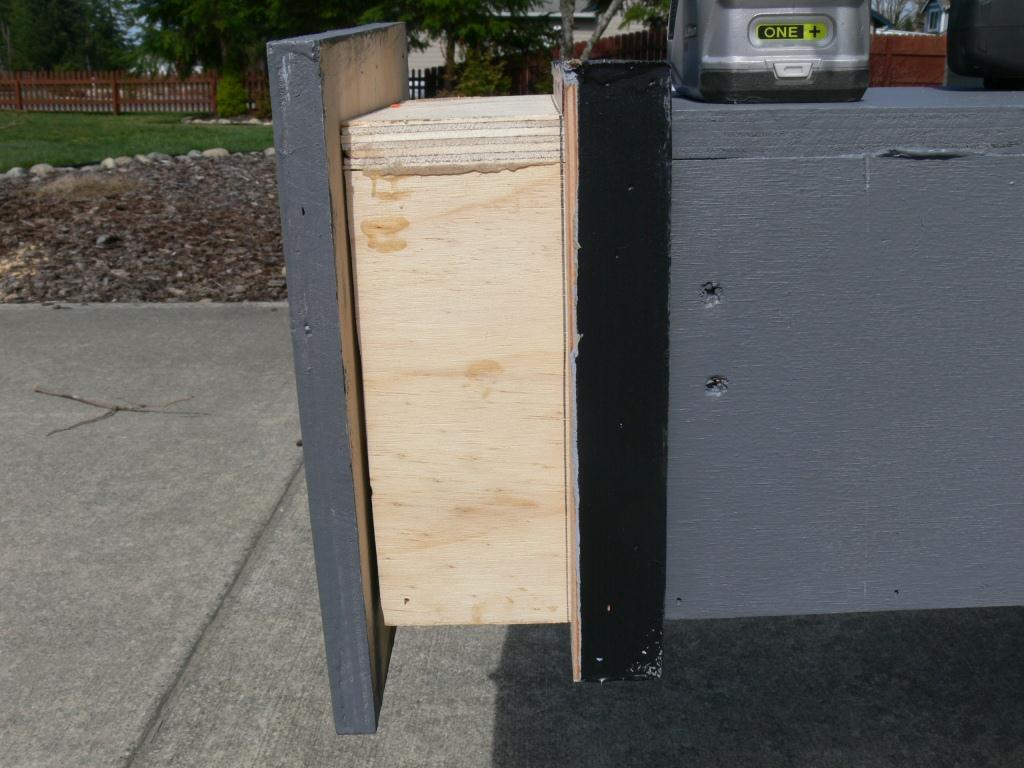
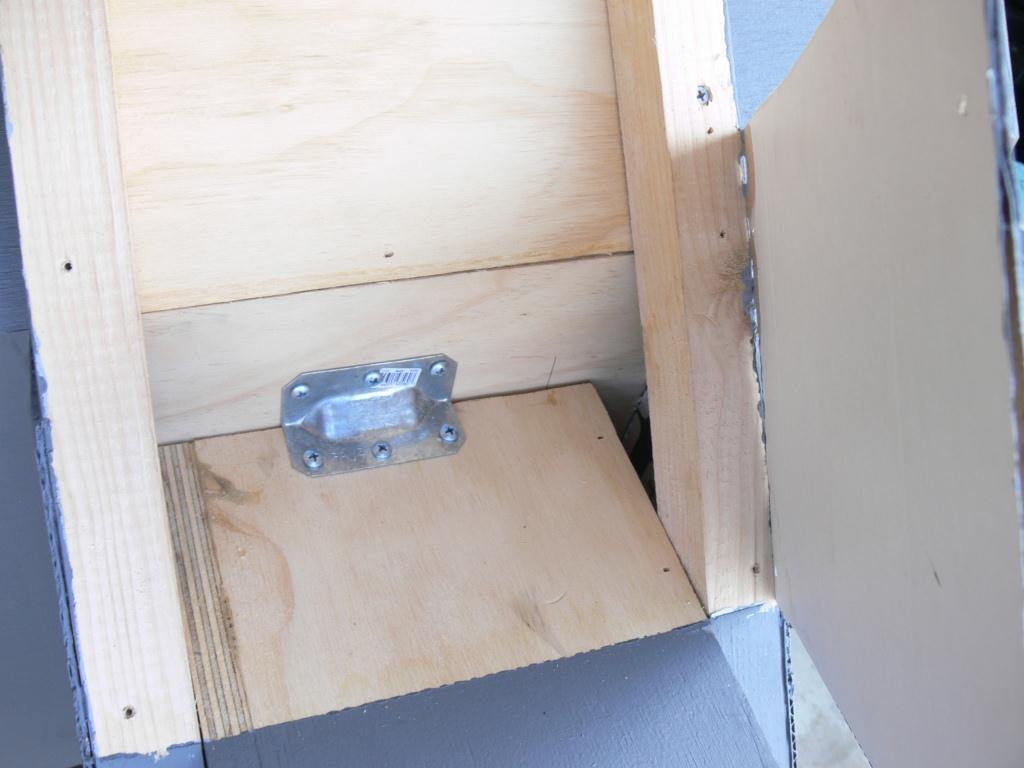
The spars to the wings are boxed 3/4 plywood. I cut 8 pieces 7 ¾ inches by 30 inches. This made a strut 8 ½ x8 ½ x 30. I also cut 10 pieces 7 inch square. I glued 2 of these 7 inch pieces together and attached them to each side, centered where the spar would attach to the body (one of the 15 ¾ x23 ¾ pieces on either side of the main body). The blocks were glued and then screwed on from both the inside and outside. I then made 2 larger blocks by gluing 3 7 inch pieces together. I slid the spars over the attachment blocks, gluing and screwing them in place. Try to be on as level of ground as possible at this point. I just measured up from the garage floor, so the spars were the same distance from the ground just in case my center octagon wasn’t perfectly perpendicular to the spars. I additionally used 90 degree brackets (such as Simpson GA2) to hold them in place. I then re-enforced the body to spar joint with a 2×2 on both sides of the spar, top and bottom. This 2×2 follows the angle of the panel above and below the attachment point of the spar (photo), 45 degrees to the spar. I continued the 2×2 over the top (photo), so the top 2×2 piece was attached to both of the side re-enforcing 2×2’s. This provided much needed structural support to the center section although once all the glue was dry I think I could have gotten away without the top piece. I secured these to the cockpit with glue and by screwing them from both the inside and outside.
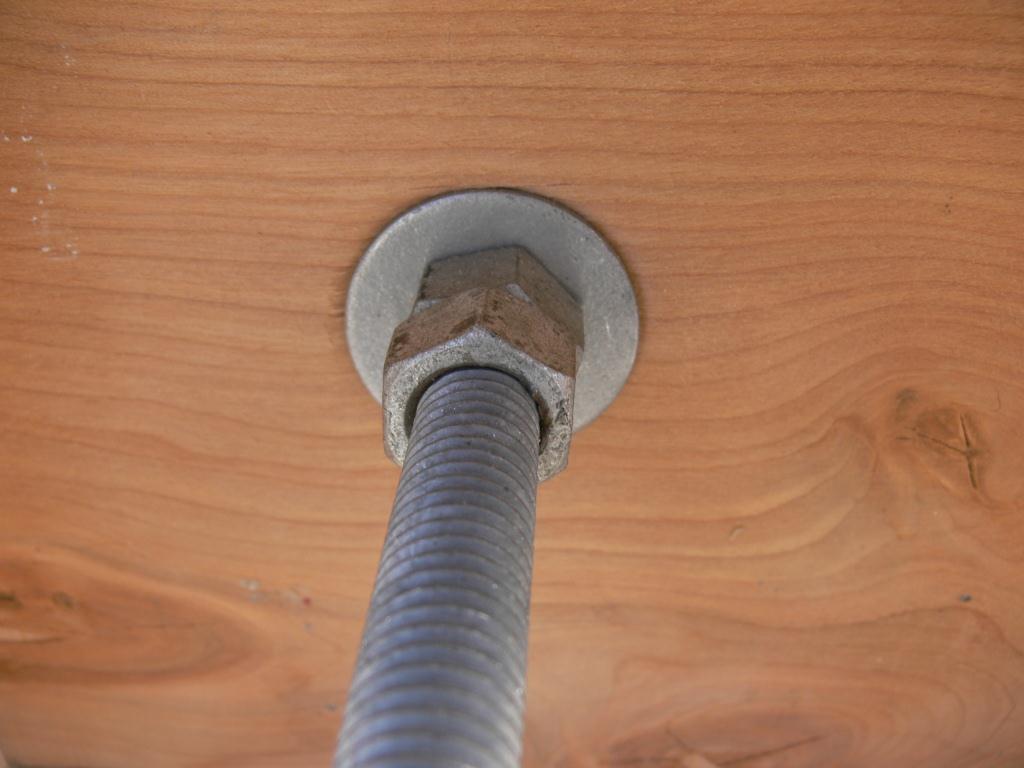
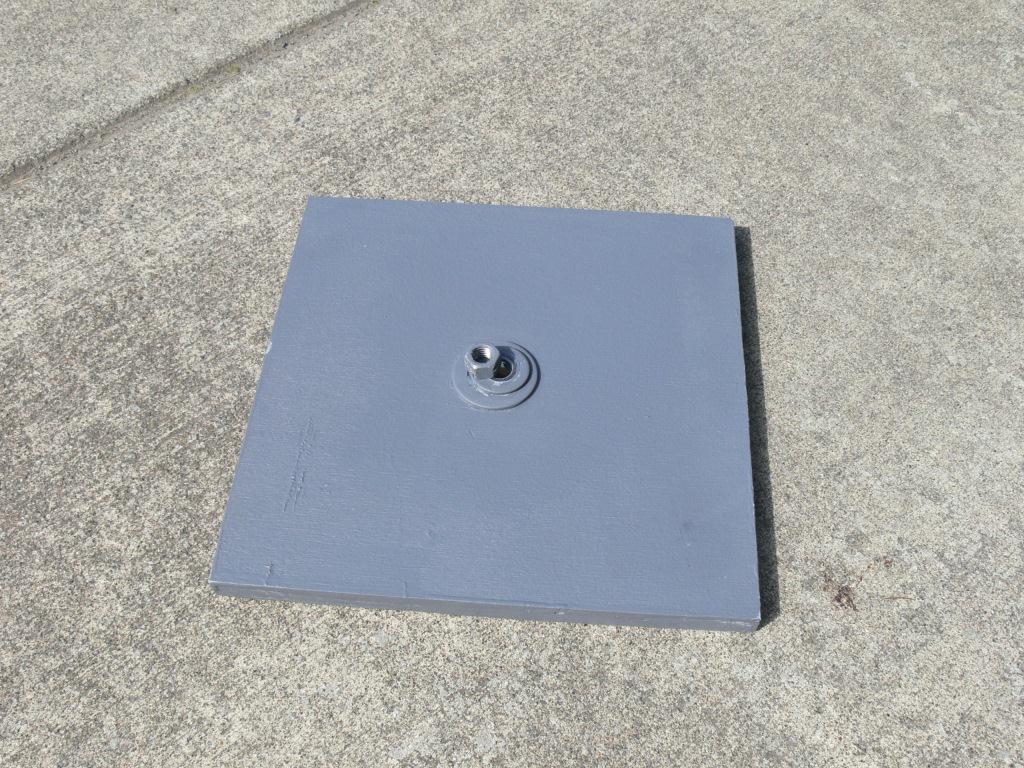
I drilled a ½ inch hole through the center of the larger 3 layer 7 inch blocks and fastened the ½ bolt in place (double nut and adhesive) I inserted it into the spar just far enough so the end of the bolt protruded out far enough to fasten the ¾ plywood end cap (photo), washer and nut to the outside of the wing. The block with the bolt is secured inside the wing spar with glue and screws. Once the wings were completed I backed off the bolt and marked the inside of the wing on the spar. I then glued and nailed on a 1×2 around the spar so the tension from the nut against the plywood pinching the wing against the 1×2 would hold the wing in place. If I did it again I would use a 2×2 instead of a 1×2 but I haven’t had any issues and it is very secure.
The wing is a 2x4x8 on the top and a 2x4x5 on the bottom, 4 feet apart (outside to outside) with ends cut to reflect the angle, about 15 degrees. There are 2 vertical 2×4’s 45 inches long that are spaced apart the width of the spar (8 ½ ) so the spar is centered in the wing. A horizontal 8 ½ inch 2×4 completes the box the spar fits into. (photo) Another 2×4, with ends cut to match the angle, for both ends. The lower half of the wing was skinned in cardboard. I’d use ¼ or ½ inch plywood if you wanted it to take more abuse. Make the box the spar inserts into tight around the spar; it will loosen up over time. The top portion of the wing is identical except I made it out of a 1×4 for the 8 ft piece and 1×2 for the rest to save weight and make it easier move. I attach it by screwing through the 1×4 into the 2×4 of the bottom half of the wing. (photo) Both wings are identical.
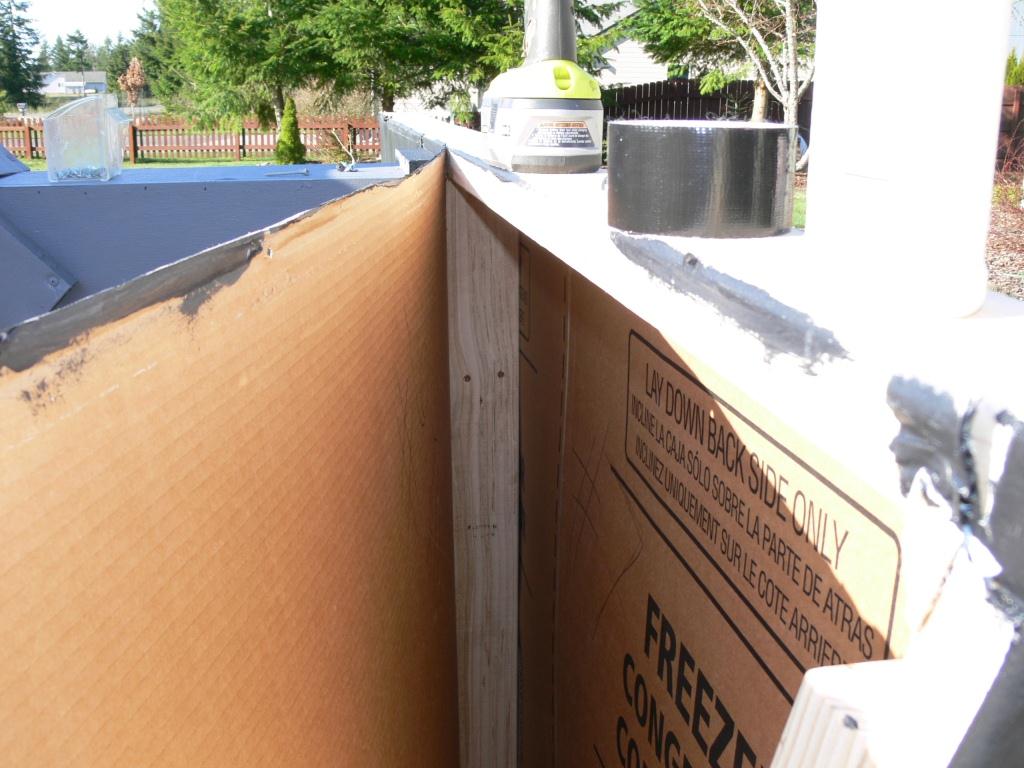
I applied glue to the wood surface and then laid down the cardboard and screwed it into place. I let the cardboard run over the edge and then trimmed it once it was secured. This worked better for me that cutting it first.
Previously on GeekWire: Giant Star Wars TIE fighter for sale on Craigslist


